

A Step-by-Step Guide to Installing an Air Compressor in Your Workshop
Introduction: Setting Up Your Workshop for Efficient Air Compressor Installation
Installing an air compressor in your workshop can greatly enhance its functionality and productivity. Whether you are a professional woodworker, mechanic, or simply a hobbyist, having a reliable air compressor can make a world of difference in your projects. In this step-by-step guide, we will walk you through the process of installing an air compressor in your workshop, ensuring that you have a comprehensive understanding of each stage. Let's get started!
1. Assessing Your Workshop's Requirements
Before diving into the installation process, it is crucial to assess your workshop's specific requirements. Consider the intended uses for the air compressor, such as powering air tools, paint spraying, or inflating tires. This assessment will help you determine the appropriate size and capacity of the air compressor needed to meet your workshop's demands. It is always better to choose a compressor with slightly higher capacity than what you currently require, as it allows for future expansion.
2. Choosing the Right Location
The location of your air compressor is another important factor to consider. Ideally, it should be placed in a well-ventilated area to prevent overheating and ensure proper air circulation. Additionally, try to keep the compressor away from direct sunlight or sources of excessive heat, as it can negatively impact its performance and longevity. If possible, locate the compressor near the center of your workshop to minimize the length of air hoses and reduce pressure drop.
3. Preparing the Installation Area
Before installing the air compressor, it is essential to prepare the installation area. Clear out any debris, clutter, or flammable materials that may pose a safety risk. Ensure that the floor is clean, level, and capable of supporting the weight of the compressor. If necessary, consider using vibration-absorbing pads to reduce noise and stabilize the unit. Taking these precautions will create a safe and suitable environment for your air compressor.
4. Determining the Piping System
When it comes to installing an air compressor, the piping system plays a crucial role in maintaining efficient airflow. There are various options available, including copper, galvanized steel, and plastic pipes. Copper pipes are commonly used due to their durability and resistance to corrosion. However, plastic pipes are also a popular choice as they are lightweight, easy to install, and cost-effective. Consider your specific needs and budget when determining the most suitable piping system for your workshop.
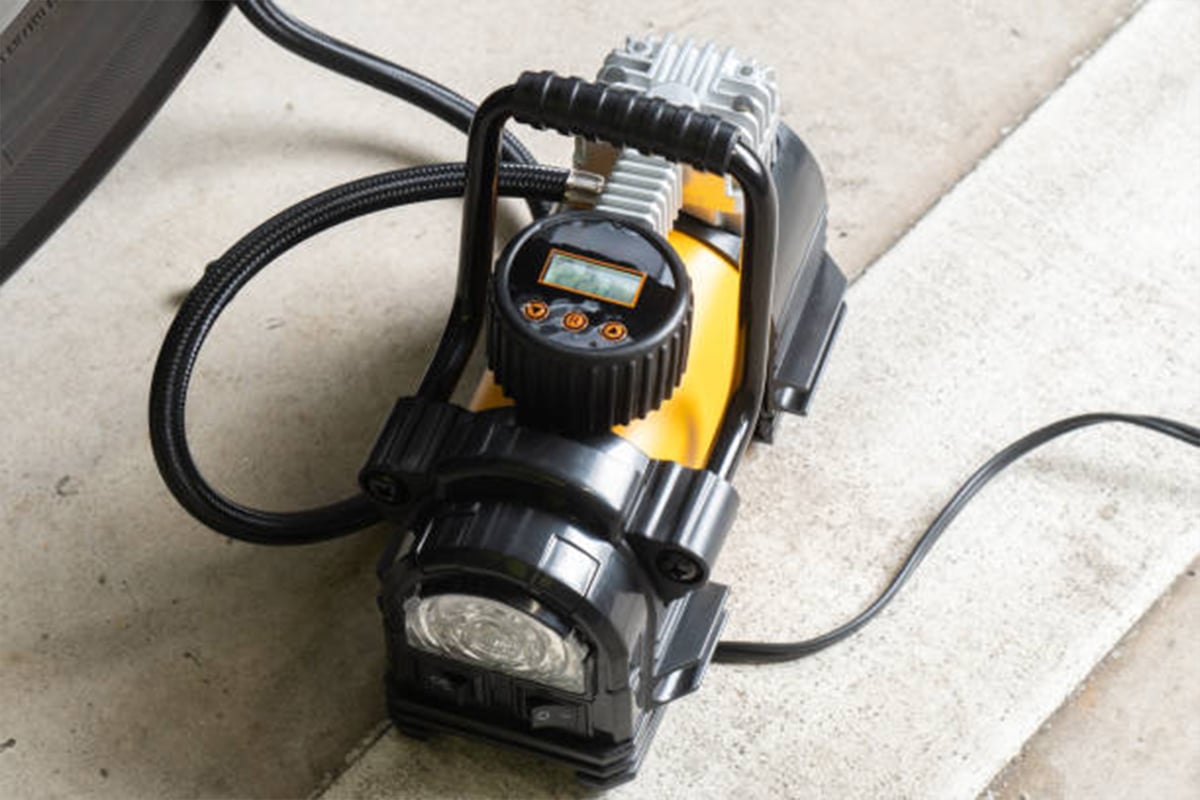
5. Installing the Air Compressor
Now that you have assessed your workshop's requirements, chosen the right location, prepared the installation area, and determined the piping system, it's time to install the air compressor. Begin by assembling the necessary mounting brackets, ensuring they are securely attached to the wall or floor. Carefully position the compressor on the brackets, making sure it is level and stable. Connect the air intake and outlet pipes, ensuring they are tightly sealed to prevent any air leaks.
6. Electrical Connections
Proper electrical connections are vital for the safe and efficient operation of your air compressor. Ensure that the power source meets the electrical requirements of the compressor, including voltage and phase. It is recommended to use a dedicated circuit to prevent overloading and potential tripping of circuit breakers. If you are not confident in your electrical skills, consult a licensed electrician to handle the wiring and connections.
7. Installation of Air Filters and Regulators
Air filters and regulators are essential components for maintaining clean and controlled airflow. Install an air filter near the compressor's intake to remove any contaminants or particles that could damage the unit. Additionally, attach a regulator to control the pressure and ensure it matches the requirements of your air tools or equipment. Regularly inspect and clean the filters to prevent clogs and maintain optimal performance.
8. Testing and Adjusting
With the installation complete, it's time to test your air compressor and make any necessary adjustments. Start by checking for any air leaks in the piping system, connections, and fittings. Adjust the pressure regulator to match the requirements of your air tools and test each tool to ensure proper operation. Monitor the compressor's performance and make any fine-tuning adjustments as needed.
9. Regular Maintenance and Safety Measures
Once your air compressor is up and running, it is essential to establish a regular maintenance routine. Regularly check and change the oil, inspect and clean the filters, and ensure all connections are secure. Additionally, familiarize yourself with the safety measures, such as wearing appropriate protective gear and following the manufacturer's guidelines. Proper maintenance and adherence to safety protocols will prolong the lifespan of your air compressor while ensuring a safe working environment.
10. Expanding Your Air Compressor System
As your workshop grows and your needs evolve, you may find it necessary to expand your air compressor system. This can involve adding additional air lines, installing a larger compressor, or incorporating storage tanks. When expanding your system, consult with professionals or experienced individuals to ensure compatibility and optimal performance. Proper planning and execution will allow you to scale your air compressor system to meet your workshop's changing demands.
A Step-by-Step Guide to Installing an Air Compressor in Your Workshop, air compressor installation, workshop air compressor, air compressor guide, installing air compressor, workshop equipment A Step-by-Step Guide to Installing an Air Compressor in Your Workshop Learn how to install an air compressor in your workshop with this step-by-step guide. Find out the necessary steps, from assessing your workshop's requirements to expanding your air compressor system.